Microsoft 365 includes a wide variety of cloud services like Entra ID, Exchange Online, SharePoint Online, Security and Compliance Center, and Teams. To manage multiple Office 365 services, you need to navigate different admin portals as each service has different portals.
Microsoft 365 PowerShell is a powerful tool that compensates the Microsoft 365 admin center. With PowerShell, you can manage all Microsoft 365 services significantly faster than the admin portal. Each Microsoft 365 service has its own PowerShell module, which allows you to administrate all services under a single PowerShell window.
To utilize Office 365 services through PowerShell, first you need to install the required module. Let’s see how to install them
- Automatically install all Microsoft 365 PowerShell modules using script
- Manually install all Microsoft 365 PowerShell modules
Install all Microsoft 365 PowerShell Modules Using Script:
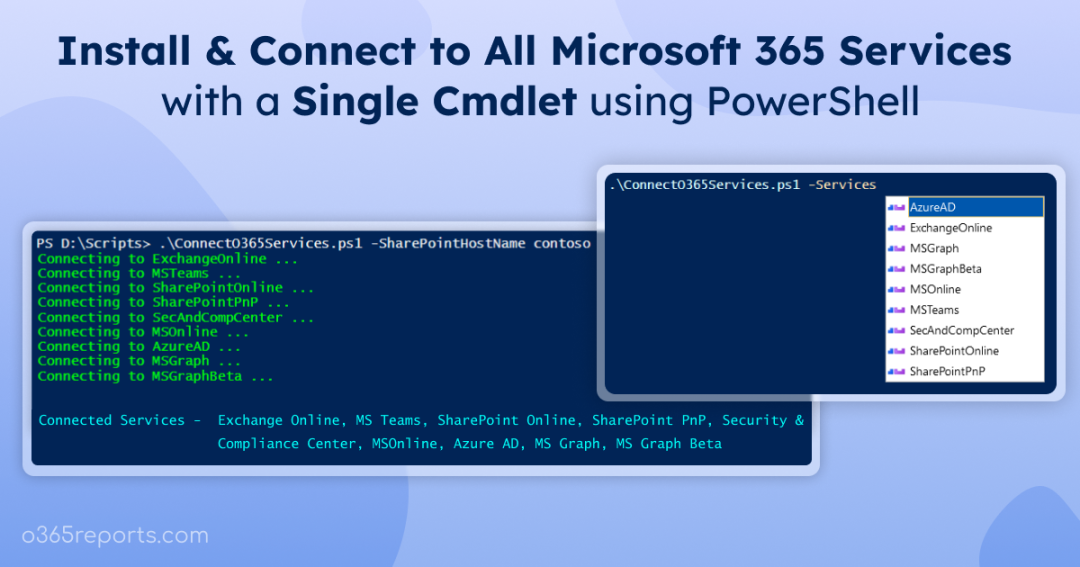
This All-in-one PowerShell script installs 9 major Microsoft 365 PowerShell modules with the single cmdlet. Additionally, it connects to M365 services through PowerShell.
Script Download: ConnectO365Services.ps1
For detailed script execution steps, you can check here
Script Highlights:
- The script connects to 9 Microsoft 365 services with a single cmdlet.
- Automatically downloads and installs the required M365 PowerShell modules upon your confirmation.
- You can connect to one or more Office 365 services via PowerShell using a single cmdlet.
- You can connect to Office 365 services with MFA enabled account.
- For non-MFA account, you don’t need to enter credential for each service.
- The script is scheduler-friendly. i.e., credentials can be passed as a parameter instead of saving inside the script.
- The script supports Certificate-Based Authentication (CBA) too.
- You can disconnect all service connections using a single cmdlet.
Manually Install Microsoft 365 PowerShell Modules:
This section will walk you through the steps to manually install the Microsoft 365 PowerShell modules.
- Install Exchange Online PowerShell module
- MS Graph PowerShell
- Install SharePoint Online PowerShell
- Install SharePoint PnP module
- Install Security and Compliance PowerShell
- Install Microsoft Teams
- Azure AD PowerShell
- Install Entra ID PowerShell
1. Exchange Online (Exchange Online PowerShell Module – EXO Module)
Exchange Online PowerShell allows you to manage your Exchange Online settings from the command line. To install Exchange Online PowerShell (EXO), you can use below cmdlet.
|
1 |
Install-Module ExchangeOnlineManagement |
EXO V3 module uses modern authentication to connect to Exchange Online and doesn’t require WinRM basic authentication to be enabled.
2. Microsoft 365 (MS Graph and MS Graph Beta PowerShell)
The production version of MS Graph has fewer functionalities and attributes compared to the beta version. Depending on your specific requirements, you can choose the appropriate module.
2.1. Install MS Graph PowerShell:
With MS Graph PowerShell, administrators can perform tasks on various Microsoft 365 services. To install MS Graph PowerShell module, you can run the below cmdlet.
|
1 |
Install-Module Microsoft.Graph |
After installing the module, you can use the ‘Connect-MgGraph’ cmdlet to connect to MS Graph PowerShell.
2.2. Install MS Graph Beta PowerShell
To install MS Graph beta PowerShell module, run the below cmdlet.
|
1 |
Install-Module Microsoft.Graph.Beta |
Note: If you installed multiple versions of MS Graph PowerShell, you may encounter ‘one or more errors occurred’ error.
3. SharePoint Online (SharePoint Online PowerShell Module)
SharePoint Online PowerShell module allows you to manage sites, site groups and users, etc. To manage SharePoint Online through PowerShell, you must install SharePoint Online PowerShell Module.
Following cmd-let will install SharePoint Online PowerShell Module
|
1 |
Install-Module –Name Microsoft.Online.SharePoint.PowerShell |
4. SharePoint PnP (SharePoint PnP PowerShell Module)
SharePoint Patterns and Practices (PnP) allows you to perform complex provisioning and artifact management actions in the SharePoint. To install SharePoint PnP, you can run the below cmdlet.
|
1 |
Install-Module -Name SharePointPnPPowerShellOnline |
5. Security and Compliance Center (Exchange Online PowerShell Module)
Security and Compliance Center PowerShell is the administrative interface that allows you to perform compliance searches and configure access to Security and Compliance Center.
You need to install EXO module in order to access Security and Compliance Center.
|
1 |
Install-Module ExchangeOnlineManagement |
Once installed, you can use the Connect-IPPSSession cmdlet to connect to the compliance center.
6. Teams (Microsoft Teams PowerShell Module)
Microsoft Teams PowerShell Module allows you to create and manage Teams. To connect Teams through PowerShell, you need to install Microsoft Teams PowerShell Module.
You can install Microsoft Teams PowerShell Module using the below cmd-let
|
1 |
Install-Module –Name MicrosoftTeams |
7. Skype (Microsoft Teams PowerShell Module)
Since Skype for Business Online Connector module and the New-CSOnlineSession cmdlet were deprecated, you can use Teams PowerShell module to manage *-CsOnline* cmdlets.
8. Azure AD (AzureAD and MSOnline Module)
Office 365 PowerShell allows you to connect to your Office 365 organization to perform administration task from the command line
1.AzureAD V1 – Microsoft Azure Active Directory Module for Windows PowerShell
2.AzureAD V2 – Azure Active Directory PowerShell for Graph
8.1. AzureAD V1 (MSOnline Module)
Cmd-lets in the Microsoft Azure Active Directory Module for Windows PowerShell have ‘Msol’ in their cmd-let name like Get-MsolUser, Get-MsolDomain, etc.
Following cmd-let will install Azure AD Msol module.
|
1 |
Install-Module –Name MSOnline |
8.2. AzureAD V2 (AzureAD Module)
Cmd-lets in the Azure Active Directory PowerShell for Graph module have ‘AzureAD’ in their cmd-let name like Get-AzureADUser, New-AzureADPolicy, etc.
|
1 |
Install-Module –Name AzureAD |
9. Entra ID PowerShell
Microsoft Entra PowerShell module allows administrators to manage Entra resources like users, groups, applications, service principals, devices, etc.
To install MS Entra PowerShell module, run the below cmdlet.
|
1 |
Install-Module -Name Microsoft.Graph.Entra -AllowPrerelease |
After installation, you can use the Connect-Entra to create Entra PowerShell session.
Challenges in Generating Microsoft 365 Reports with PowerShell:
Most admins prefer PowerShell to manage their Microsoft 365 environment. But when it comes to reporting, it is always difficult to get the desired report with PowerShell. Because
- PowerShell requires a lot of effort to generate the needed reports, which is time-consuming.
- Automating report generation is difficult when you are using MFA.
- If you do not retrieve the audit data properly, it will end up with data loss which spoils the purpose.
- If you are a newbie, you might lose in search of finding the right cmdlet.
If you are searching for the easiest way to generate Microsoft 365 reports, A tool like AdminDroid will help you in reporting and auditing your Microsoft 365 environment.
AdminDroid offers 1800+ pre-built reports and 30 smart dashboards in which you can get statistics about your organization effortlessly. This tool provides reports on various categories such as,
- Azure Active Directory reports
- Exchange Online reports
- SharePoint Online reports
- Microsoft Teams reports
- Security reports
- OneDrive for Business reports
- Stream reports
- PowerBI reports
- OneNote reports
- Skype for Business Online & Yammer reports
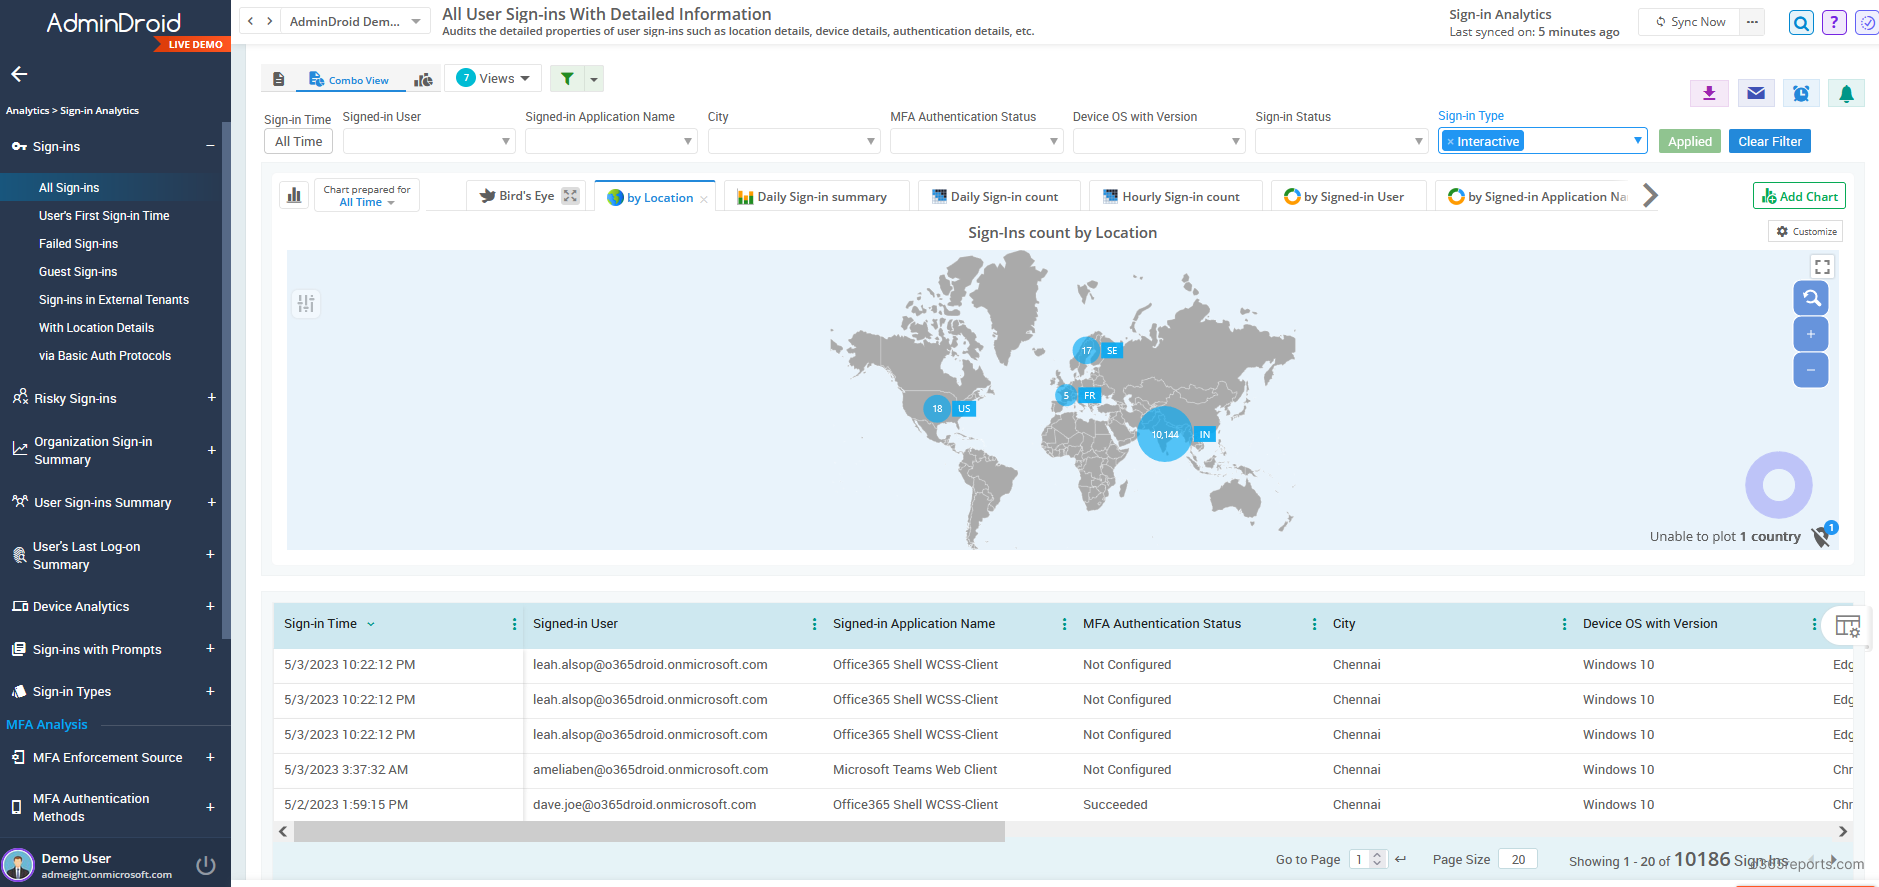
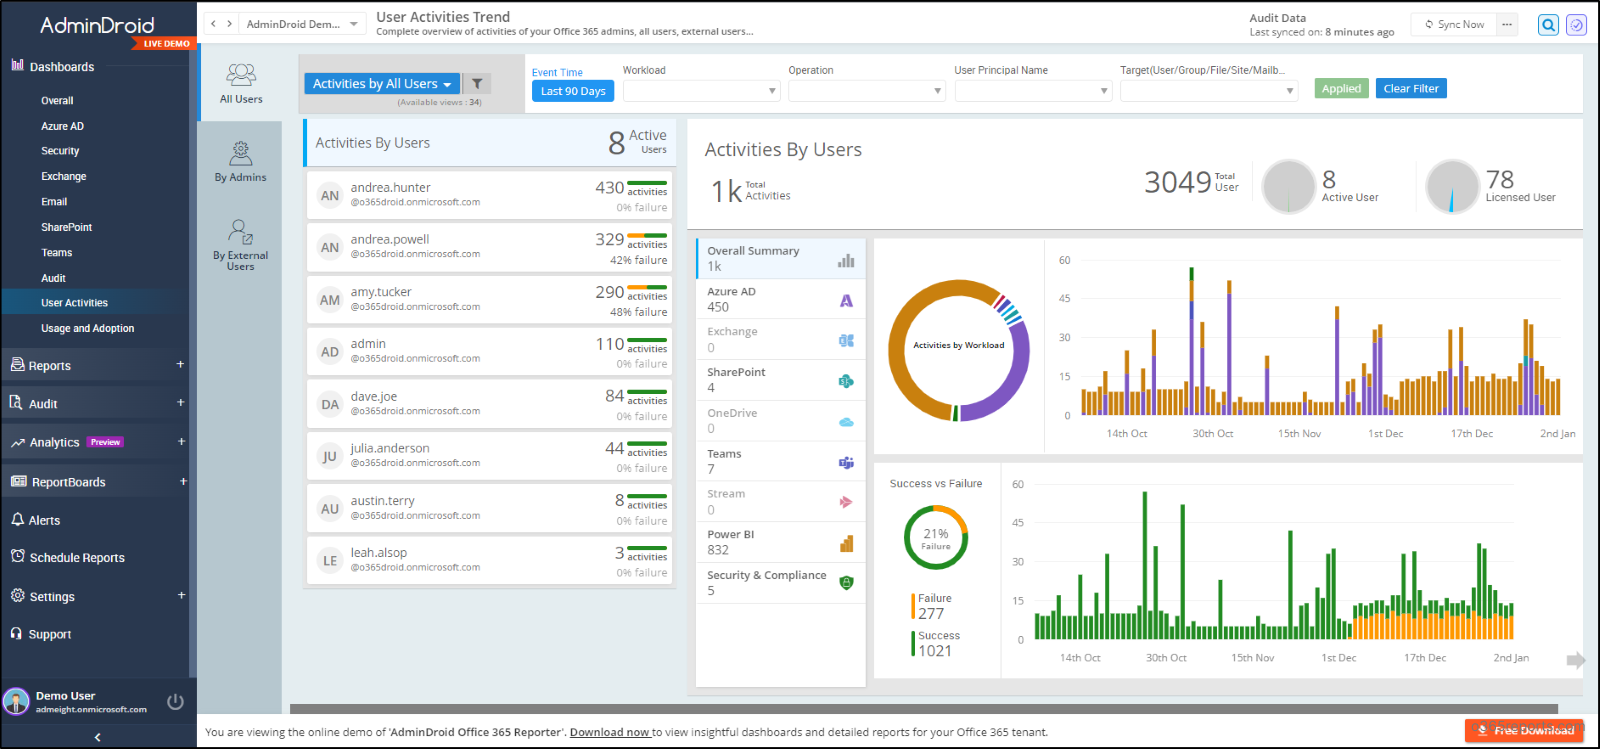
Besides, AdminDroid offers 120+ reports and a handful of dashboards completely for free. It includes reports on Users, Licenses, Groups, Group Members, Devices, Login Activities, Password Changes, License Changes, and more. The free edition doesn’t have any restrictions in reporting functionalities such as customization, scheduling, and exporting.
Download Free Office 365 reporting tool by AdminDroid and see how it helps for you.
I hope this blog can help you to manage Office 365 environment. If you face any issues, share with us through the comment section.
